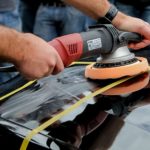
Start coarse and work finer, and never skip more than one step in the sequence. For stripping and shaping, begin at 40 to 60 grit. For general preparation of bare wood, start at 80, move to 120, and finish at 180. For a surface that will take stain or a clear film finish, stop at 180 to 220; going finer can polish the wood so the finish cannot grip. Between coats of finish, sand lightly with 320 to 400 grit. Those four bands cover most jobs, and everything else is a variation on them.
The grit number on the back of the paper describes how densely the abrasive particles are packed into the coating. Lower numbers cut faster and leave deeper scratches; higher numbers cut slowly and leave a finer surface. The goal of a sanding sequence is to remove the scratches left by the previous grit, not to press harder with a finer one.
The working grit chart
| Stage | Grit range | What it does | Typical use |
|---|---|---|---|
| Shaping and stripping | 40 to 60 | Removes material fast, leaves deep scratches | Paint removal, flattening rough stock |
| Preparation | 80 | Levels the surface, removes planer marks | First pass on bare hardwood or softwood |
| Refining | 120 | Removes 80-grit scratches | Second pass before a finish or primer |
| Finishing | 180 to 220 | Smooths for stain or topcoat | Final pass on furniture and trim |
| Between coats | 320 to 400 | Knocks down dust nibs and orange peel | Scuff sanding between finish layers |
| Rubbing out | 600 and above | Produces a polished surface | Polishing a cured film |
Two things about this chart are easy to get wrong. The first is treating 220 as a universal finish; for stain, 220 is often already too fine on open-grained woods. The second is skipping from 80 straight to 220, which leaves 80-grit scratches under a surface that looks smooth until finish is applied.
Grit standards: why the number is not always the number
There are two common grit scales, and they do not match. CAMI, used mostly in the United States for paper and cloth abrasives, and FEPA, usually marked with a P prefix and common on European and imported abrasives, assign different numbers to similar particle sizes. A P120 is close to, but not identical to, a CAMI 120.
In practice this only matters if you mix brands or buy imported discs. If your sequence uses one scale consistently, the numbers work as relative steps. If you switch scales at the same number, expect a slightly different cut and test on scrap before committing to a visible surface.
How to step through the sequence
The rule of thumb is to increase grit by roughly 50 percent rather than doubling it. From 80, go to 120, then 180, then 220. Doubling from 80 to 160 and then to 320 works on softwoods but tends to leave visible scratch patterns on dense species.
Sand with the grain on flat surfaces, and do not press down. The weight of the sander plus a light guiding hand is enough; pressure slows the motor, loads the paper and creates swirl marks that are difficult to remove later. Let the abrasive cut.
Clean between grits. Vacuum the surface and wipe it with a tack cloth, then let it dry. Loose dust from a coarse pass embeds in the next disc and creates scratches you then have to sand out again.
Mark the surface if you want certainty. A light pencil scribble across the panel, sanded until it disappears, tells you the pass is complete and even. This is more reliable than judging by eye under a single light source.
Replace paper when it loads or glazes. A disc packed with dust stops cutting and starts burnishing, which polishes the wood instead of leveling it. Expect to change discs several times on a full project, and more often on painted surfaces.
Grit by material
Softwoods like pine and cedar scratch easily and compress under pressure. Start at 80, move to 120, and stop at 150 to 180 for paint or stain. Sanding pine past 220 can burnish the earlywood and cause blotchy stain.
Hardwoods such as oak, maple and walnut hold detail and tolerate finer sequences. Start at 80 after planing, step through 120 and 180, and finish at 180 to 220. Open-grained species like oak are often deliberately stopped at 180 so stain has something to bite into.
Plywood and veneered sheet goods need care, not aggression. Veneer is thin, and a 60-grit pass can cut through it in seconds. Start at 120 with light pressure and stop at 180 unless the surface is being primed.
Paint removal is a coarse job. Start at 40 to 60 to break the film, then switch to 80 once bare wood appears. Sanding paint also raises the question of what is in the coating; older finishes may contain lead, so test before sanding large areas in an older home.
Drywall needs a different approach. Use 100 to 120 grit on a pole sander for joints and 150 to 180 for the final blend. Finer than that polishes the paper face and prevents primer from adhering.
Between-finish work uses finer abrasives. For smoothing primer, 220 to 320; for scuffing between topcoats, 320 to 400; for polishing, work up through the finer grits in order.
Matching grit to the sander
A belt sander removes material fast and leaves straight scratches along the belt direction. It is the right tool for flattening and stripping, usually at 60 to 80 grit, and the wrong tool for finish sanding because it is difficult to control around edges.
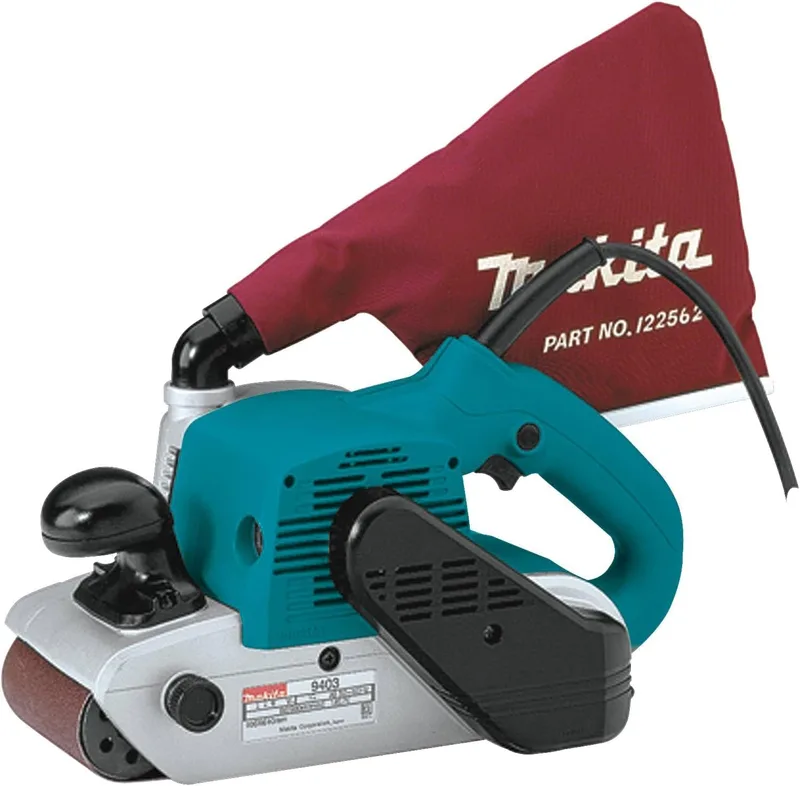
A random orbit sander is the general-purpose choice. The spinning and orbiting motion crosses its own scratches, which hides swirl marks, and it handles 80 through 220 comfortably. Most furniture work can be done with one of these and three grits.
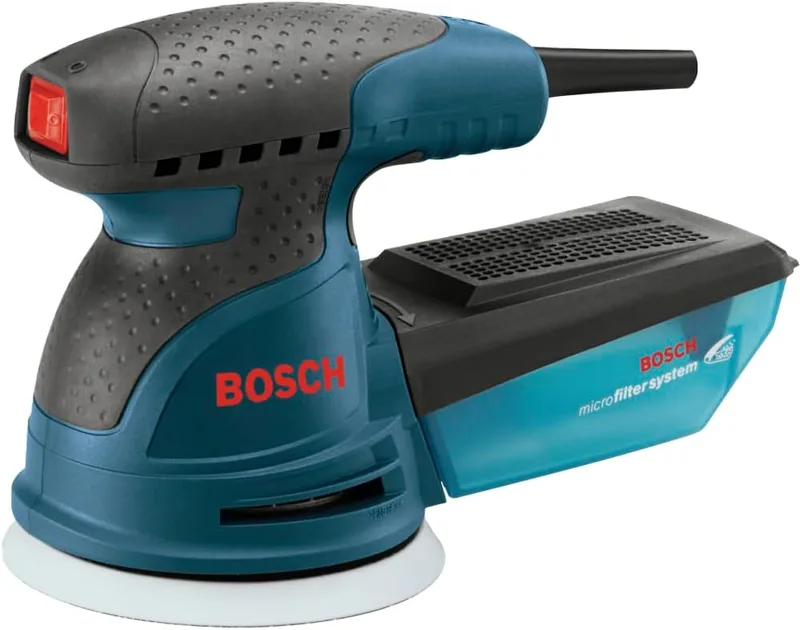
A finishing sander or detail sander moves in a small orbit and is meant for the final passes, particularly on trim and in corners. It is slow at removal and should not be asked to do a belt sander’s job.
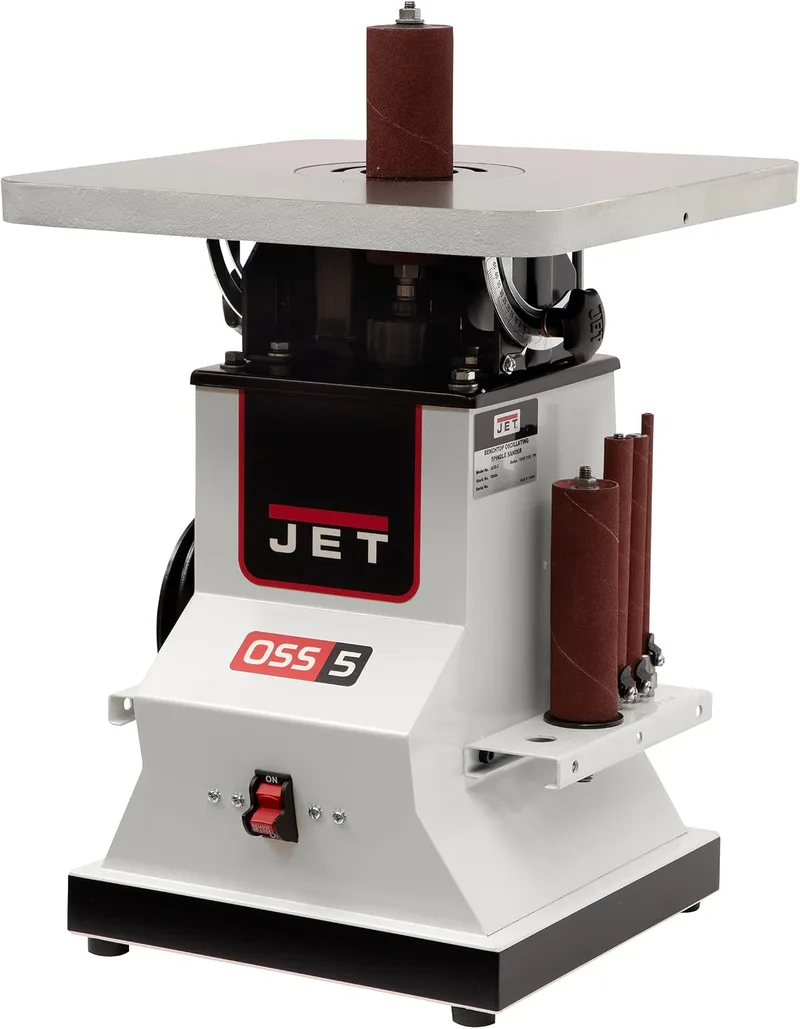
A benchtop spindle or disc sander shapes curves and edges rather than preparing flat panels, so grit choice there is about control rather than finish quality.
If you are deciding between machine types before grit, our comparison of orbital and belt sanders covers what each one is actually good at, and which of them suits the final two passes.
Common grit mistakes
Starting too fine. Beginning at 220 on rough stock wastes paper and time because the surface never gets level. Coarse first is faster overall.
Skipping a step. Jumping from 80 to 180 leaves deep scratches that show up under finish, often as a haze in raking light.
Over-sanding before stain. Sanding past 220 closes the pores on many species and produces blotchy, uneven color. If a project needs a very smooth surface under a film finish, sand to 220 and use a sanding sealer rather than going finer.
Using worn paper. Dull abrasive burnishes instead of cutting, which can mean more work than starting with a fresh disc.
Sanding against the grain. Cross-grain scratches are shallow but conspicuous, and they only disappear when the whole surface is taken back a grit.
Not cleaning between grits. Dust from a coarse pass contaminates the next disc and reintroduces the scratches you just removed.
When the grit chart is not the whole answer
Surface preparation is only part of a finish. Wood species, moisture content, the finish system and the environment all affect how a surface looks once coated. A panel sanded perfectly at 180 can still look uneven under stain if the wood absorbs unevenly, which is why sealers and conditioners exist.
If your project involves floors or cabinets, the grit sequence stays the same but the machine and the stakes change. Our notes on the best type of sander for hardwood floors cover the equipment side, and the roundup of sanders for cabinets is the practical starting point for painted or refinished casework, where edges and profiles matter more than flat panels.
Whatever the machine, keep it clean. Loaded paper, a clogged dust port and a worn pad all change how a grit behaves, and a sander that is not maintained will leave marks that no grit sequence fixes. Our bench sander maintenance notes cover the basics that apply to most sanders.
Frequently asked questions
What grit should I start with on bare wood?
Eighty grit is the usual starting point for surfaced lumber. Drop to 60 only if the surface is rough, has planer marks or needs flattening, and go to 40 only for stripping or shaping.
Can I skip from 120 to 220?
You can, but the surface will show it under a finish. The safer step is 120 to 180, then 220 if the finish system calls for it. Skipping is more tolerable on softwoods than on dense hardwoods.
What grit is best before staining?
Usually 180, with 220 acceptable on tight-grained species. Finer than 220 tends to close the surface and reduce stain penetration, which causes blotching.
What grit do I use between coats of polyurethane?
320 to 400, applied lightly by hand or with a fine pad. The purpose is to knock down dust nibs and give the next coat something to bond to, not to remove the previous coat.
Is higher grit always smoother?
Higher grit produces finer scratches, not necessarily a better surface. Past a certain point the wood is polished rather than prepared, and finishes adhere less well. Match the final grit to the finish, not to the number on the package.
The bottom line
Coarse to fine, one step at a time, cleaning between passes: that is the whole method. Start at 40 to 60 for removal, work through 80, 120 and 180 for preparation, stop at 220 for most finishes, and keep 320 to 400 for between coats. The chart is a starting point; scrap wood is how you confirm the sequence before you touch the finished face.